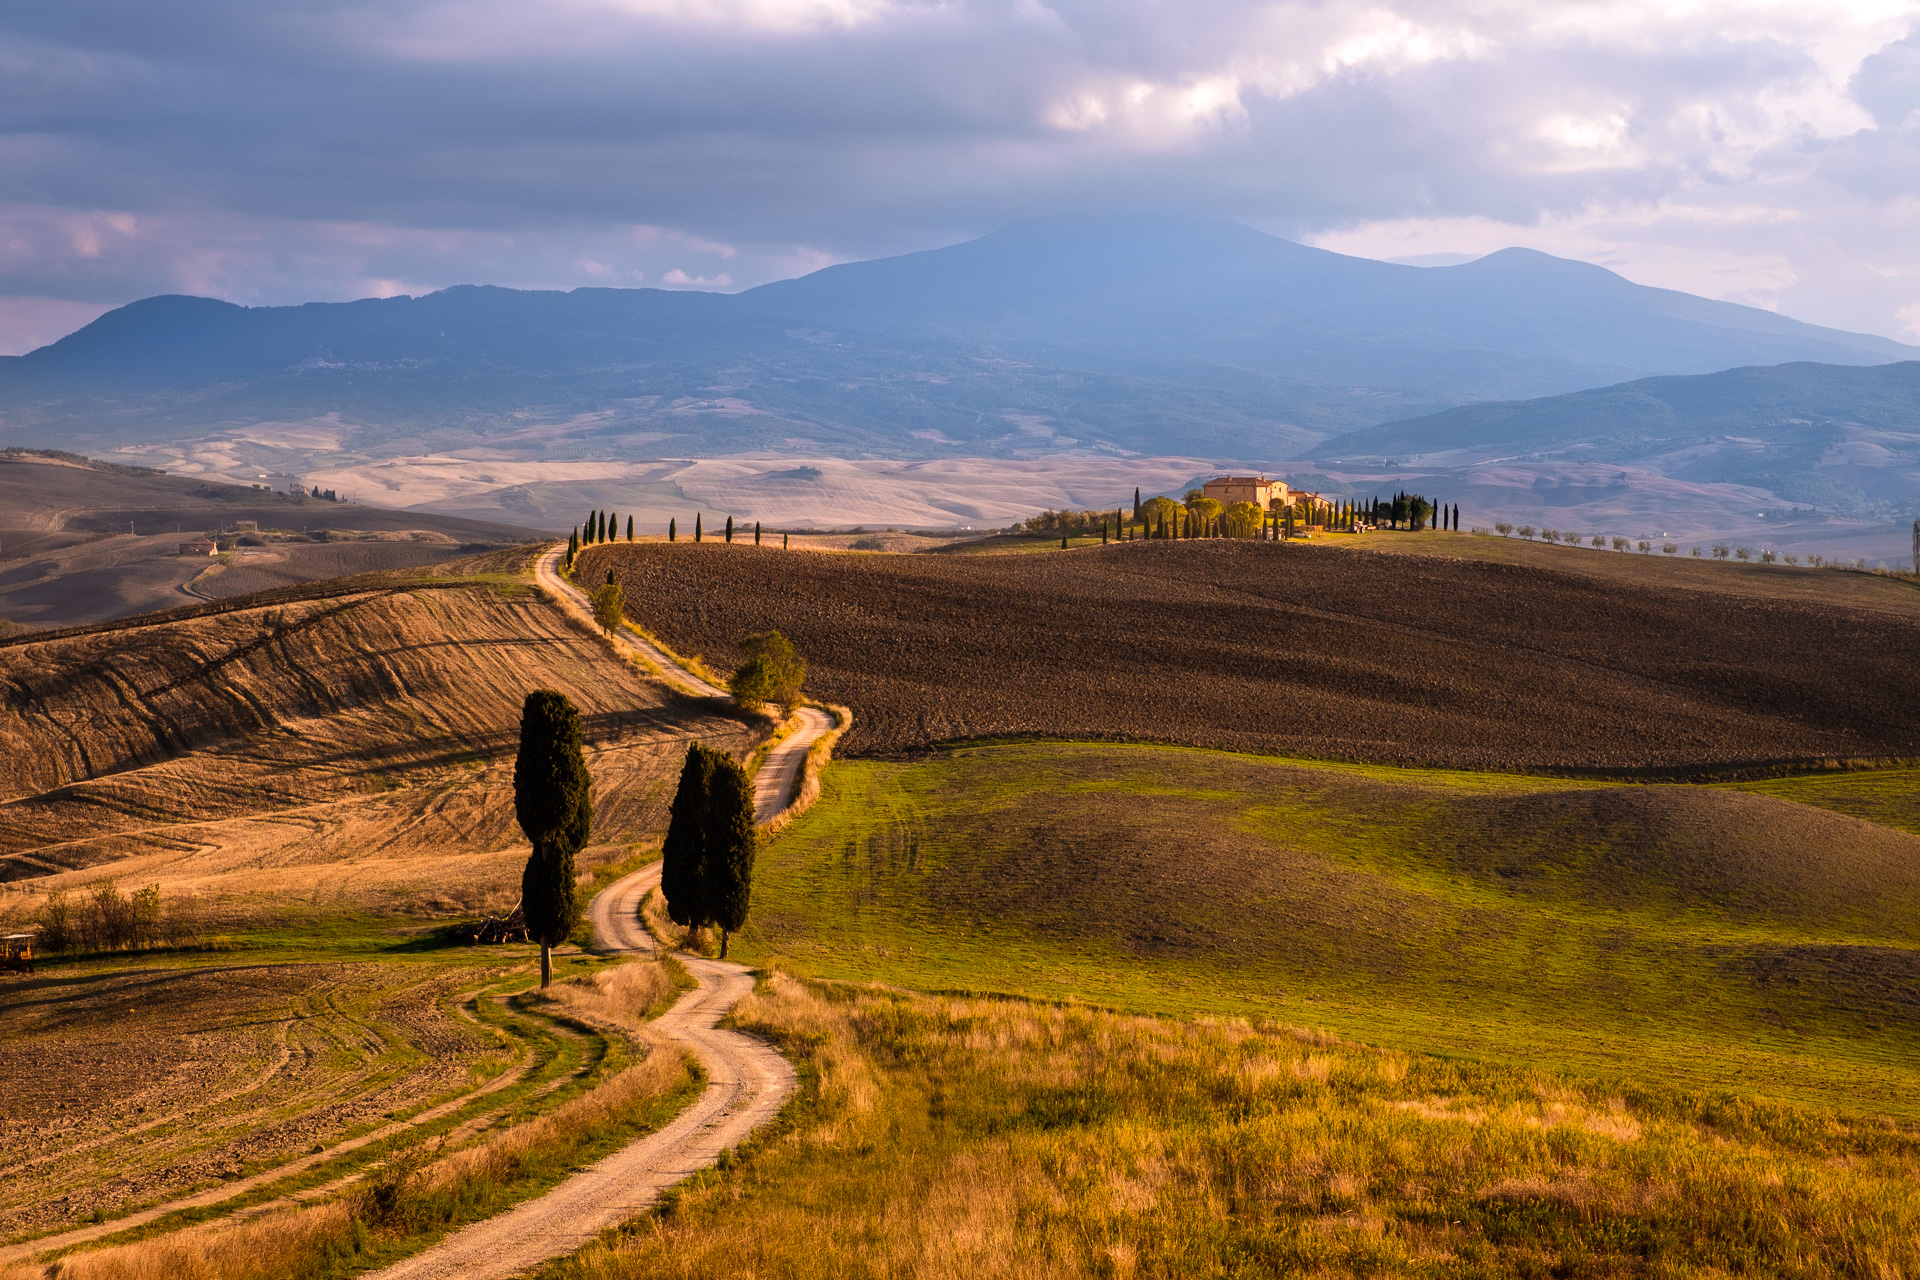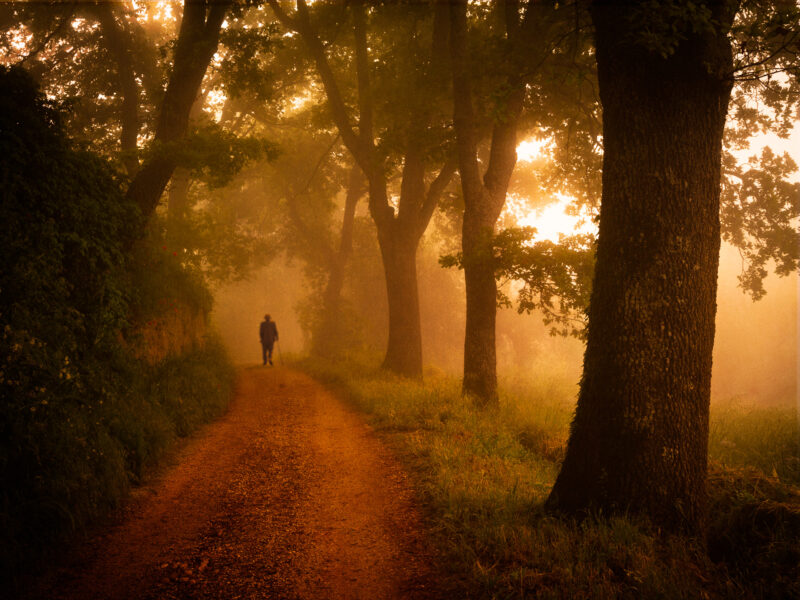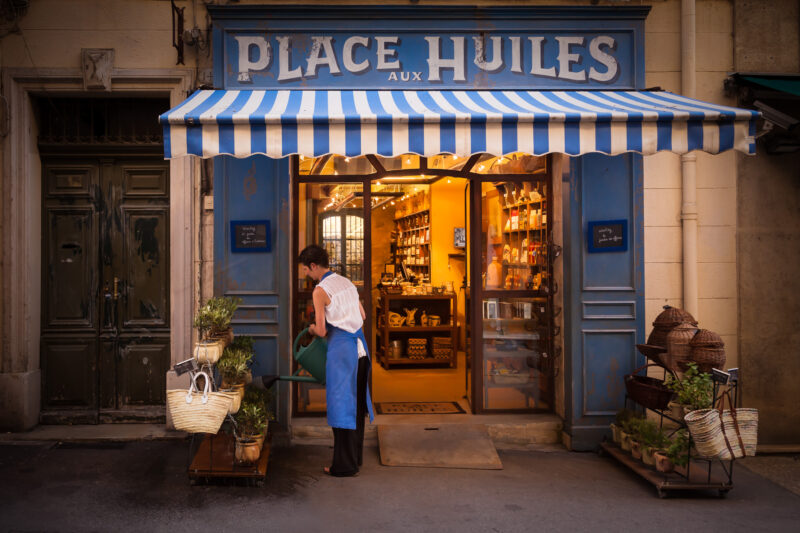
For most of the time its been around, the local adjustment tools in Adobe Lightroom have paled in comparison to the power and precision of the comparable masking and adjustment tools in Photoshop. Lightroom’s attraction has always been its intuitive ease of use. The gap between Lightroom and Photoshop noticeably narrowed with the introduction of the Range Mask feature added to the local adjustment tools. It’s now much easier to quickly make very precise and refined selections for your local adjustments within Lightroom, and as is typical of Lightroom the process is simple and very intuitive.
In this video tutorial, we take a deep dive into using Range Masks with local adjustments in subtle ways to enhance three-dimensional form and texture in your images. In the video below explores the power of this powerful easy-to-use tool.
However, before we get to the video, this needs to be said: despite the power of these tools, they are just tools; incapable of any artistic expression on their own.
That’s the photographer’s job.
All the elements that make strong images must be present first: good visual design, light, and a sense of the moment. All this, or any other post-processing tool can do is refine what is all ready there
If you would like to learn more about using the tools to strengthen the visual elements of your images using the Range Mask and all the other tools available in Lightroom, check out my online course:
“After the Click – Refining Your Vision in Adobe Lightroom” on BPSOP.com:
The next session starts on May 1, and every four weeks thereafter. I hope to see you there.
